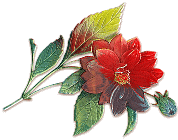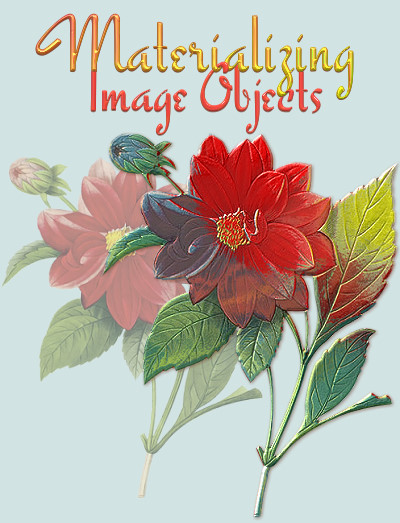

Create the glamorized dahlia
used to decorate this page.
This tutorial is an introduction to what I call
"shape-shifting," a technique for applying Material attributes to
images. Although written for PhotoImpact 8, it can probably
be used with PI 6 on up. It assumes you have some experience
with the program.
Needments here
(dahlia
object, reflection, and "remove-all" preset--unzip to a memorable
location)
Preliminaries . . .
Although I could have supplied the dahlia object as
ready-to-use, I've left it in UFO format to explain how to save it
as a true-color transparent PNG suited to this effect.
1. Set your background color
to white, then open the "remove-all.ufo"
2. Click on the Path
Tool, then the Material icon on the Path attribute
bar
3. In the Material dialog,
click Add..., then All, and save the preset the leaf path is
wearing to your EP Gallery; close the leaf UFO
4. Open the dahlia UFO,
duplicate (Ctrl+D), then close the original
5. Format/Expand Canvas
(essential!): expand sides equally by 5 pixels using the
white background color of the canvas
6. Other-click/Deselect All
Objects
7. View/Base Image (hide)
8. Web/Image Optimizer/PNG
Options: save as true-color PNG with Transparency
(the optimizer will already show the right PNG settings; the trick
to this is in steps 6 and 7--be sure the object is not selected
and the background is "transparent" gray and white checks '-)
To add Material attributes to the
image . . .
1. Click again on the flower
to reselect it, then Edit/Crop
(important!--canvas will now be the same size as before expansion,
380x483px)
2. Edit/Trace/Selection
Marquee: accept defaults
3. On the Path Attribute bar:
change mode to 2D Object
4. Open your EP gallery and
double-click the "remove-all" preset you saved
5. On the Path Attribute bar:
click the Material icon
6. In the Material dialog box
adjust tabbed variables as follows--and watch what happens to the
dialog's thumbnail :-)
Color-Texture: File - use
the dahlia PNG you saved
Bevel: 3D Round; Bevel Joint,
rounded
Border/Depth:
Border, 5; Depth, 10; Smooth Spine, unchecked; Type of border,
In
Bump: File - apply the
same dahlia PNG you saved; Density, 55%; other options
unchecked
Reflection: File -
use "flowers.jpg"; Density, 100%
Transparency: unchecked
Shadow: #1; color, #733E29; settings
1,1,41,6 (or whatever floats your boat); Render backface,
unchecked
Light: Leave at 1,
Direct; boost Ambient to 54; Rotate light, unchecked
Shading: Metallic/Copper; leave Shininess
and Strength at defaults (80 and 70)
7. Preview. Amazing eh?
And what's even more amazing is that before you click OK to close
the Material dialog, you can save this "materialized" image as a
preset to your EasyPalette Gallery . . . yup, I said a
preset. Just click Add and
leave the Save options at All--it will even resemble itself in the
EP's thumbnail (no need to "try" to make a custom thumb '-).
When applied to other path shapes and text the dahlia
"shape-shifter" preset will cut itself into them. You can
also store the dahlia path object in
the EP Library the same as you would any path object.
8. Click OK to exit the
dialog. The next time you use the Path
Drawing Tool, be sure to reset it first with the
"remove-all" preset.
To downsize smoothly . . .
Resizing the resulting path object may alter the
reflection and cause "washboarding" of the image's narrowest
parts--so to minimize distortion instead do this:
1. Other-click/Convert Object
Type: From Text/Path to Image
2. Pick Tool: Drag the dahlia path object off
the canvas and drop it in the workspace; close the old working
canvas without saving
3. Double-click
the flower to invoke Properties/Position & Size
tab: Keep aspect ratio; Size/Width, key in 300; Unit,
Pixels
4. Format/Focus:
Sharpen, 1
5. Format/Hue &
Saturation: Saturation, +30 (I like intense color
:-))
6. Format/Brightness &
Contrast: Brightness, +3
And there you have it :-))
To use this effect on other image
objects . . .
--It isn't absolutely necessary to use a base shape that fits
the contours of your image. Instead you can crop the object,
deselect it, then Select All (that is, select the background) and
trace that selection to use a perfectly-sized rectangular path
instead. This method is especially useful if your object has
delicate parts that would be lost or compromised by tracing.
You will not, however, be able to make a beveled border on your
image because doing so will reflect the contour of the rectangular
underlying path shape you've used not the shape the transparent
PNG image "cuts" out of it. So when your base shape is
geometric, you need to set the border to 1. If you want to
bevel the edges of your image object, you'll have to use a path
shape that matches it--that is, a tracing.
--After you've applied the PNG as a Color/Texture, you can
change the "color" from File to Solid or Texture without affecting
the shifted shape the PNG applied. I haven't a clue why--but
it sure is nifty '-)
--Always save your image object as a transparent true-color PNG
(UFO, JPG, GIF, 256-color PNG, etc. just won't "cut" it '-)) with
a surrounding cushion of exactly 5 pixels of empty
space. For some reason unbeknownst to me, the empty space
prevents distortion when the PNG is applied as material.
--Be sure to play around with all the settings and options in
the Material dialog box, and especially try out lots of
reflections.
Other images I've
"materialized" . . .
|
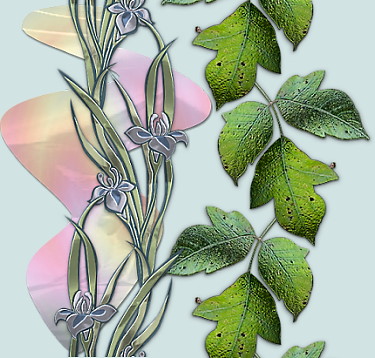
A Windows Metafile and a
photo I took of "The Evil PI"
each embossed and metalized then made into a seamless
border.
|
Part 2, "Gilding the Lily" coming soon . . . .
Have fun
:-))