 Version: I used PI 8
Skill Level: Intermediate
Featured tools:
Paintbrush, Selection, Resize, Image
Optimizer
NB: "Other-click" refers to whichever mouse-button you use to bring up context menus (for me it's the left ;-). Have you ever wondered what you were
going to do with all those black and white Dover samples you
snagged? Well I have '-) . . . and I glommed heaps even though I
thought there was no way PI could "objectify" them without leaving ghostly
"halos" and ghastly deformities--especially since Mac's "remove white"
filter doesn't work with PI's unique layers. Now I did use that
filter successfully with Paint Shop Pro to clean up whole sheets of Dover
black and whites in fell swoops--and got some really spiffy objects that I
saved as PSDs (for use in PI of course '-)--but the achievement definitely
left me feeling unthrilled and unfulfilled PI-wise.
Then, recently, after a bit of experimenting with
importing PSP "brushes" to use as stamps and objects in PI, I discovered
the very virtue I'd despaired of: PI has its own "remove white"
function! While playing I noticed that when using a texture with
PI's Paintbrush all white in the texture image became transparent so only
its darker aspects colored and appeared on the canvas. This gave me
an idea for creating objects--that worked beautifully! :-))) Here's
how to do what I did: | |
1. Click the Paintbrush tool icon. On its attribute bar, set Shape to
round, Size to 20, Color to white, Transparency to 0, Soft-edge to 1--then
"Add" the settings as a preset to the EasyPalette Gallery. On its attribute bar, set Shape to
round, Size to 20, Color to white, Transparency to 0, Soft-edge to 1--then
"Add" the settings as a preset to the EasyPalette Gallery. | |
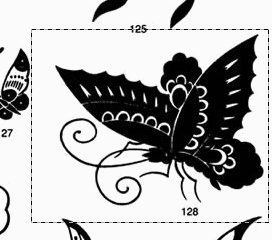
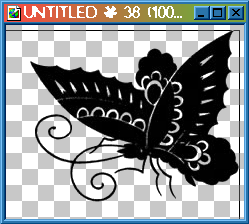
| 2. Open a page of black and white clips (if you don't have any yet =:-O, the one I'm using is here '-). Use the Rectangular Selection tool to select one, then Copy and Paste as New Image. Merge; close original. | |
 | |
| 3. If your clip is more than 500 pixels high or wide you will have to resize it at this point since 500 is the limit of PI's (PI 8) brush size. | |
| 4. It's important to have the clip's background pure white. If there's writing on it anywhere or bits of other images, paint them out with the paintbrush. To get rid of stray off-colored pixels (JPG artifacts--very important!) click the Magic Wand, set Similarity to 20, uncheck "Search connected pixels," and make sure anti-aliasing is checked under Options--then click on the white background. Fill the resulting selection with pure white (#ffffff), then other-click and de-select (None). | |
 | |
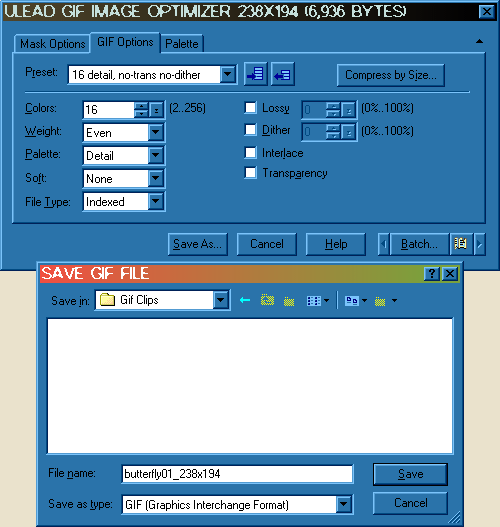
| 5. Use the Optimizer to save the resulting image as a 16-color/detail GIF without dithering or transparency. It will help greatly to add the image's dimensions to its filename. Leave the clip active in the workspace. | |
 | |
| 6. Open a new true-color transparent canvas the size of the "Active image." | |
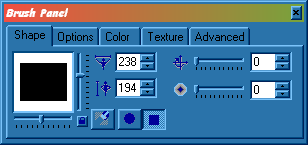
| 7. Click the Paintbrush again and open the Brush Panel. | |
| 8. Texture tab: Click on the "Add Texture" icon and browse to where you saved your black and white GIF. Highlight and Open. Mouseover your texture's name and take note of its dimensions. | |
 | |
| 9. Shape tab: Highlight brush width and height and type in the clip's dimensions. Click the Rectangular Brush icon and set Soft-Edge and Brush Angle to zero. | |
 | |
| 10. Options tab: Apply method: Always; Transparency: 0; Lines: Freehand. | |
| 11. Color tab: Single Color; black. | |
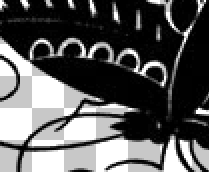
| 12. On the Paint Attribute bar: Set the Mode to "Paint as object." (Now the reason for a transparent canvas becomes obvious: you will not be able to paint on it unless you're in Paint as Object mode. '-) | |
| 13. Line up the brush with the top and left edges of the canvas and click the mouse once. (I've offset the brush by a few pixels here so you can see it [black line]). The reason for this precise size and positioning is that we don't want this "texture" to tile like a normal paintbrush texture would. | |
 | |
| 14. Click the "Paint as object" icon again to exit that mode. | |
| 15. On PI's main menu, go to Edit/Crop. | |
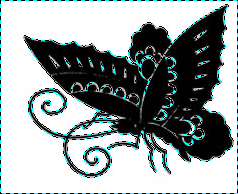
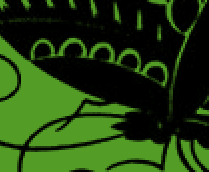
| 16. You now have a marvey, clean object ready to fill with color, texture, paint, etc. No jaggedy or hazy edges! (Zoomed to 200% :-)) | |
  | |
| 17. For subsequent painting you can easily reset your paintbrush
by double-clicking the preset you saved in step one. | |
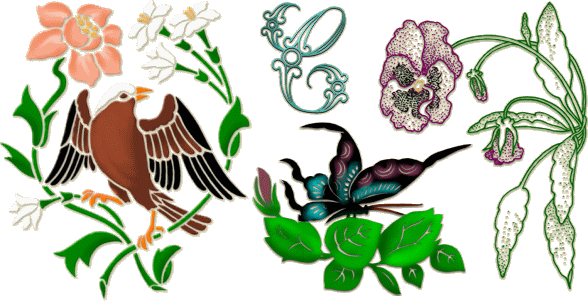
| The decoration on this page is a bit of Dover black and white clipart I "objectified" then painted. Here are a few other black and white "paint-objects" I colored: | |
 | |
|
NB: This method is also
effective for making PI "brushes"
from colored images--details are here. Have fun! | |
 | |